Exploring Astrophotography: Setup your Gear
Welcome to Cevpix, your go-to source for astrophotography tutorials, equipment insights, and cosmic event updates. Discover guides on capturing breathtaking astrophotos of landscapes, planets, and nebulas. Dive into our featured works, including the Milky Way, and check out our partner site, Vonavisions, for more stunning visuals.
Charles Voner


Astrophotography tutorials and equipment are covered here. I use an ASIAIR Plus, ASIAIR Pro or an ACEMagic PC with NINA to control the various equipment. The ZWO Seestar 50 is also used in my arsenal.
Step By Step setting up a Rig
In this illustrated guide, I will walk you through the step-by-step process of setting up the various units required to create a stunning image. Each photo carefully captures the details of the setup, ensuring that you can easily follow along. We'll begin with the assembly of the main components, then move on to positioning the lighting for optimal effect.
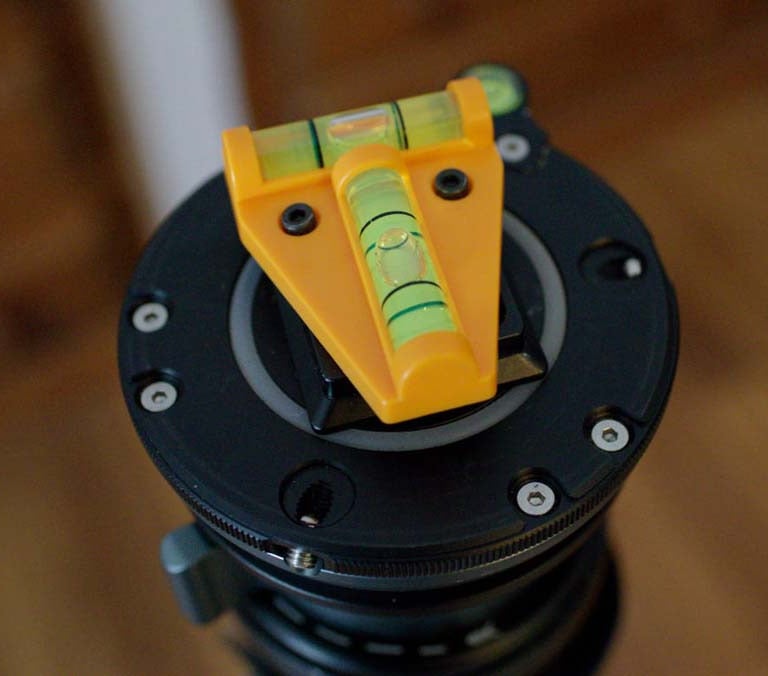
First you have to level your tripod. I use this one that I screw in and make it level with a leveler that is mounted on the tripod.
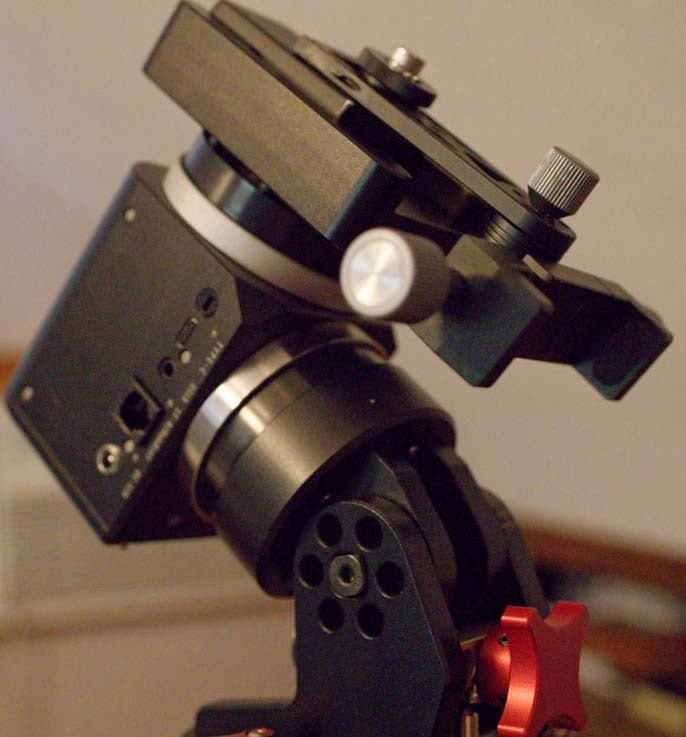
Next I put on my tracker which is a Juwei-14. It is a strainwave mount that does not require a countrweight although you can add one if necessary.
It has many options. You power it on with 12V and you can add a cord or use the Hand controller.


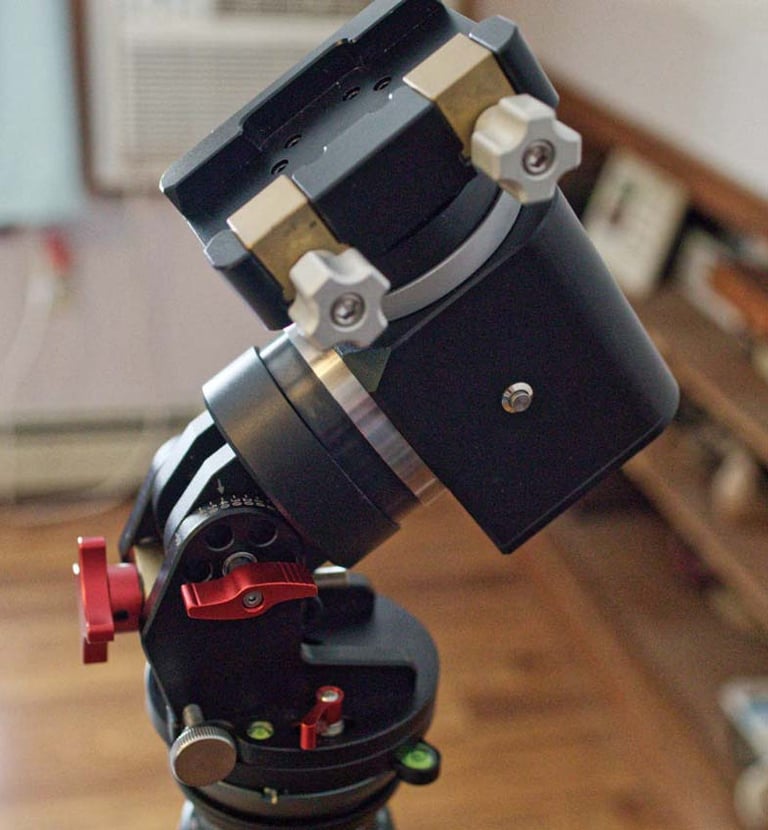

I add Move Shoot Move's cellphone holder to line up the celestial pole in the Sky Safari Plus app.
You put it in compass mode and then line up the North celestial pole in the app.
I usually check with other apps to see how close I am to the pole.
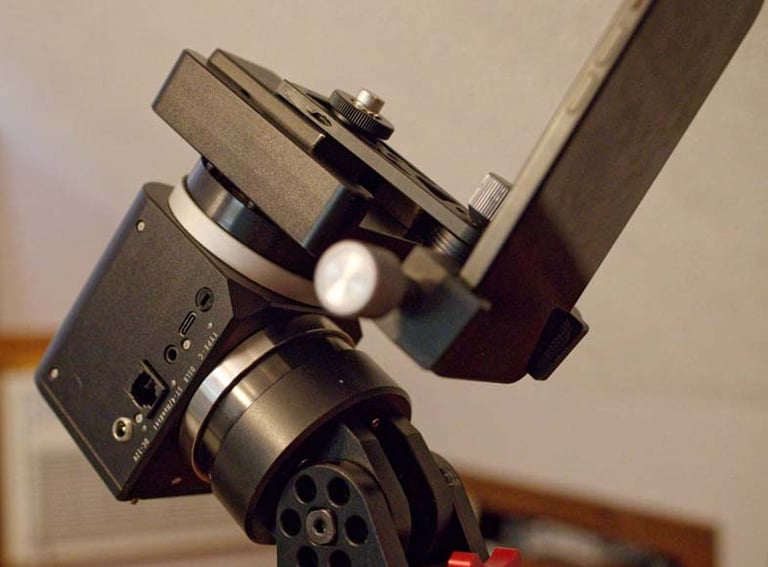

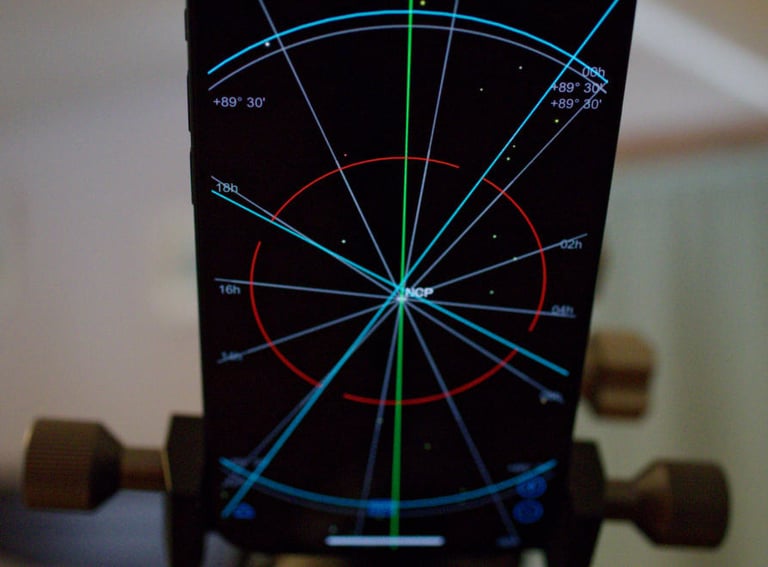

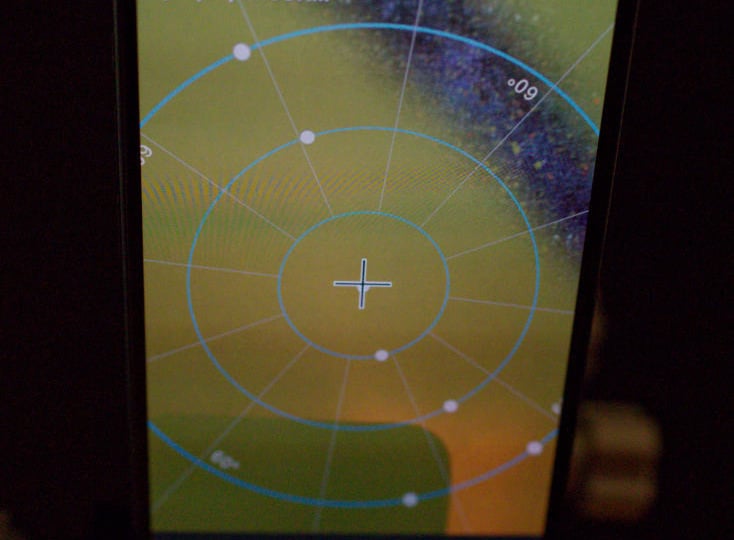

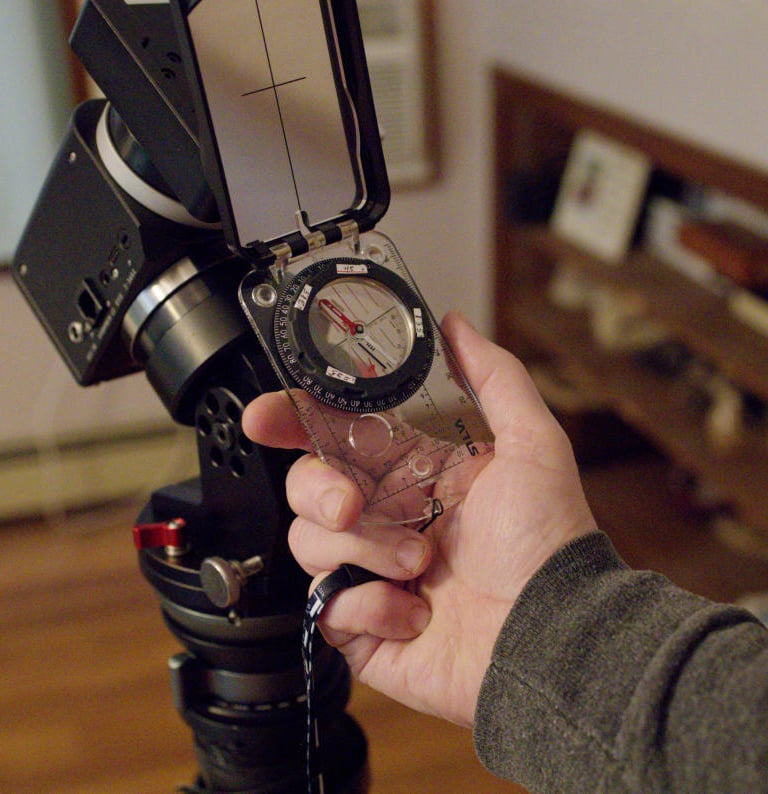

I use a real compass to check also to see where the needle points in true north. A phone also has an app but it is not as accurate.
I add my SkyWatcher Skymax 127mm telescope that is great for planets. It has a FOV of 1500mm
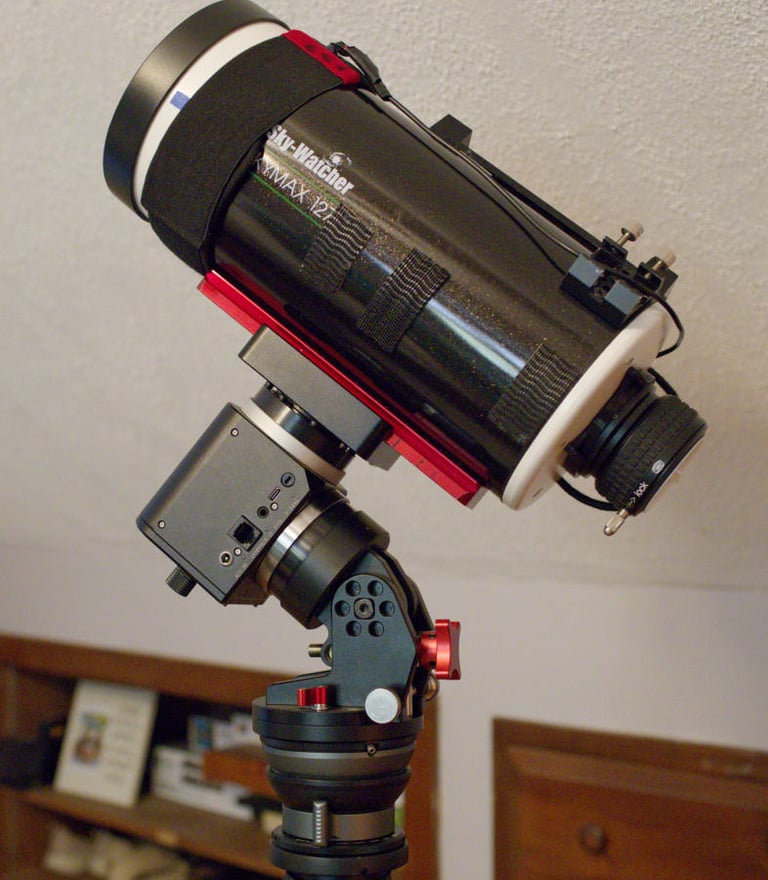

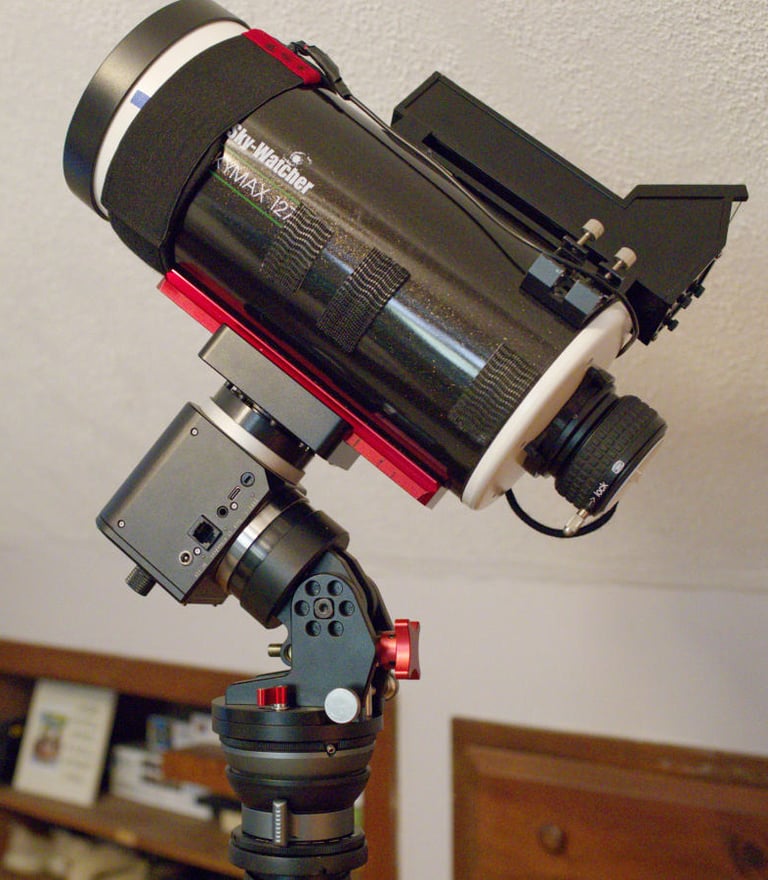

I use a finder to locate my objects. I usually line it up with the scope in daylight with a distant object so they are both in sync with the crosshairs.
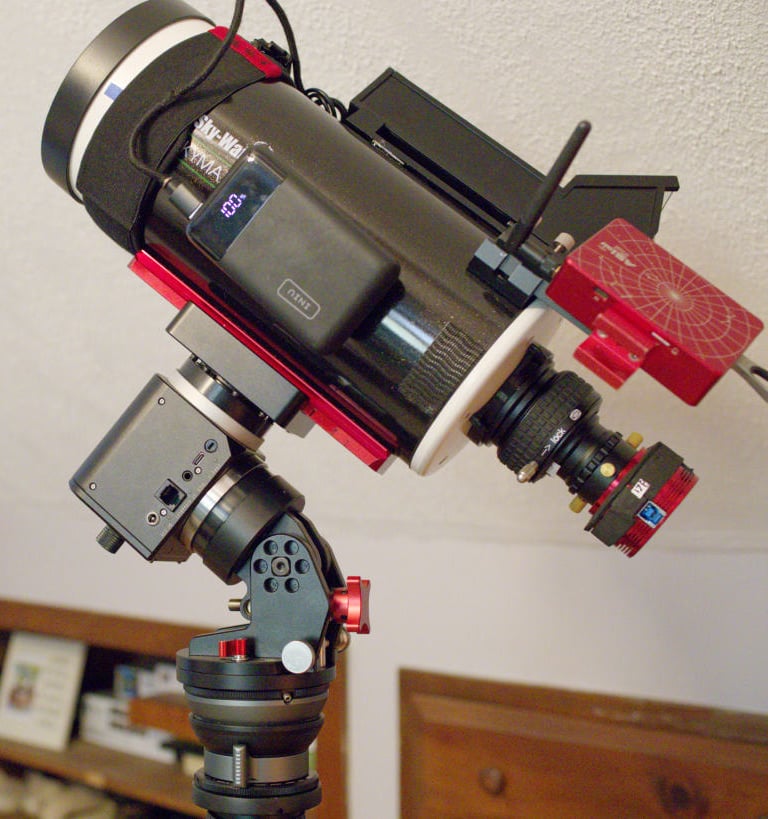

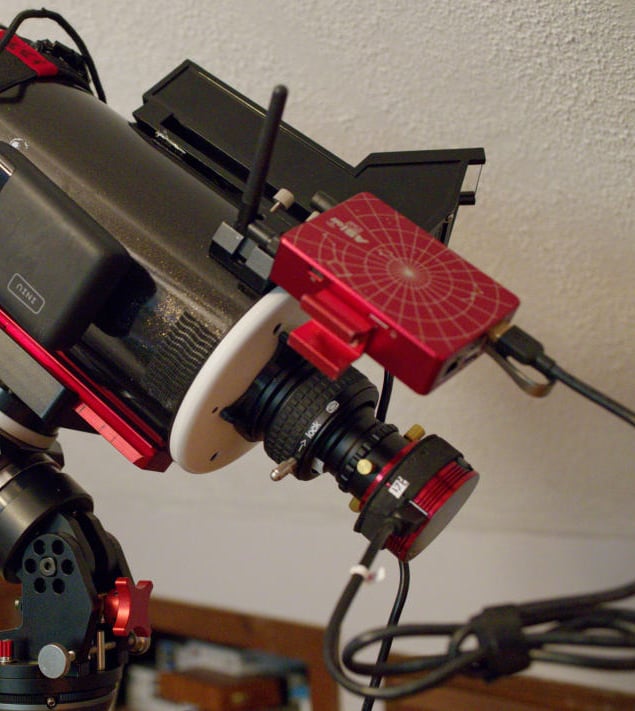

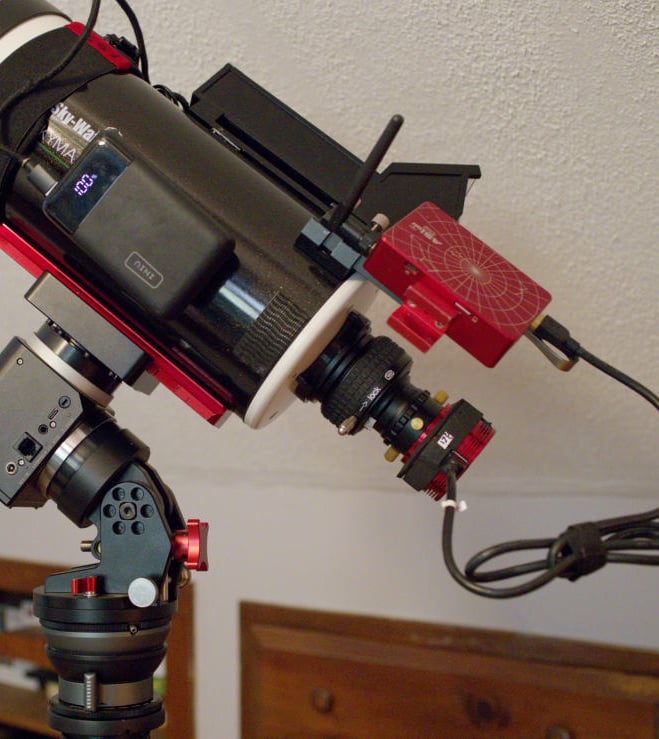

Then I add the cords and really arrange them so they do not snag when the telescope is slewing
Next I add the ASIAIR Plus to control the camera, scope, and mount. The camera is the ASI178MC .
With the cords all connected it is ready to power on the ASIAIR Plus. The app can be run by your Iphone or a tablet in Android or IOS.
